Video-based walkthrough
Chocolate Factory Walkthrough: Clues, Tools and Suspect
Follow the Chocolate Factory item chain and inspect the evidence before choosing a suspect. The positions below refer to the archived gameplay shown in the pictures.
Quick answer
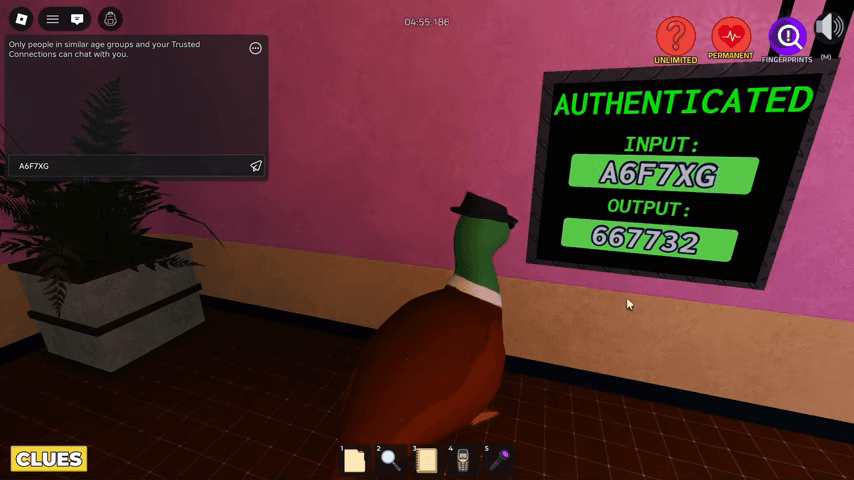
Follow the colored entrance clue, repair the leak, obtain the keycard, weigh the golden egg for 3000, wash the password note, then decode A6F7XG to 667732 in the recorded run.
Follow the item chain
Use the steps in order, or jump to the last door you opened.
1. Match the laboratory entrance colors
1. Match the laboratory entrance colors
- Success check
- The next clue or room becomes available after the actions in this step.
- If it remains unclear
- Check the pictured area and finish the item interaction before moving on. Compare your current clue if the version differs.
Read the supporting evidence
§1. Match the laboratory entrance colors#
Use the heart, candy and balloon clues for the eight-color door panel. The narrated archived order is green, red, brown, purple, purple, red, white, red. Check your visible clues before entering it.
2. Repair the pressure leak and obtain the keycard
2. Repair the pressure leak and obtain the keycard
- Success check
- The next clue or room becomes available after the actions in this step.
- If it remains unclear
- Check the pictured area and finish the item interaction before moving on. Compare your current clue if the version differs.
Read the supporting evidence
§2. Repair the pressure leak and obtain the keycard#
Take the nearby tape and apply it to the leaking hole. Press the button and wait for the next door. Eat the two eggs, then inspect the restroom toilet to obtain the keycard.
3. Weigh the golden egg
3. Weigh the golden egg
- Success check
- The next clue or room becomes available after the actions in this step.
- If it remains unclear
- Check the pictured area and finish the item interaction before moving on. Compare your current clue if the version differs.
Read the supporting evidence
§3. Weigh the golden egg#
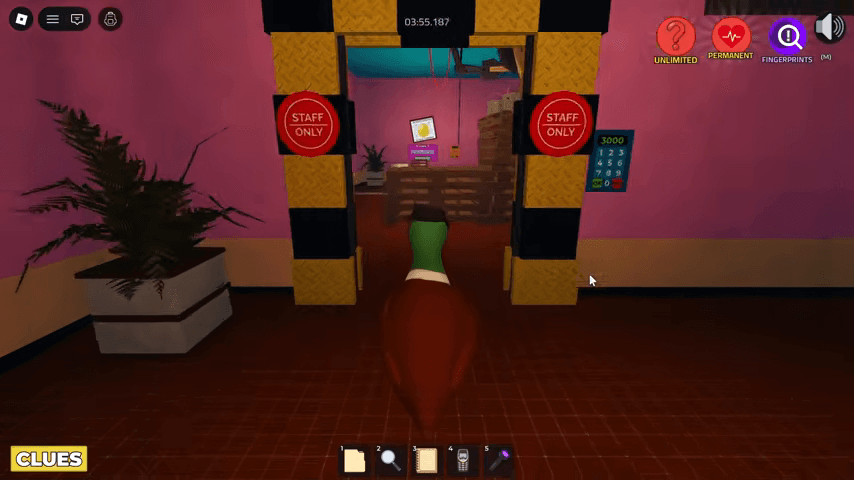
Use the keycard to reach the Chocolate River. Collect the golden egg at the far end and carry it to the Easter Egg room scales. The reviewed measurement is 3000 grams; enter 3000 at the corresponding keypad.
4. Drain the river and wash the dirty note
4. Drain the river and wash the dirty note
- Success check
- The next clue or room becomes available after the actions in this step.
- If it remains unclear
- Check the pictured area and finish the item interaction before moving on. Compare your current clue if the version differs.
Read the supporting evidence
§4. Drain the river and wash the dirty note#
Use the tank or chocolate-jar control until its level reaches zero. The drained river exposes the dirty note. Pick it up, wash it with water and inspect it with the magnifying glass.
The washed note gives topfactory in the narrated run. Enter that password at the factory computer, then copy its encrypted Candy Farm access code.
5. Use the USB decoder and enter 667732
5. Use the USB decoder and enter 667732
- Success check
- The next clue or room becomes available after the actions in this step.
- If it remains unclear
- Check the pictured area and finish the item interaction before moving on. Compare your current clue if the version differs.
Read the supporting evidence
§5. Use the USB decoder and enter 667732#
Take the USB on the table and insert it at the decoder device. The reviewed display reads INPUT A6F7XG and OUTPUT 667732. Enter the six-digit output at the Candy Farm gate.
One later spoken recap adds an extra digit. The selected frame resolves the discrepancy. If your input differs, decode the current computer code.
6. Repeat the light sequence and open the vent
6. Repeat the light sequence and open the vent
- Success check
- The next clue or room becomes available after the actions in this step.
- If it remains unclear
- Check the pictured area and finish the item interaction before moving on. Compare your current clue if the version differs.
Read the supporting evidence
§6. Repeat the light sequence and open the vent#
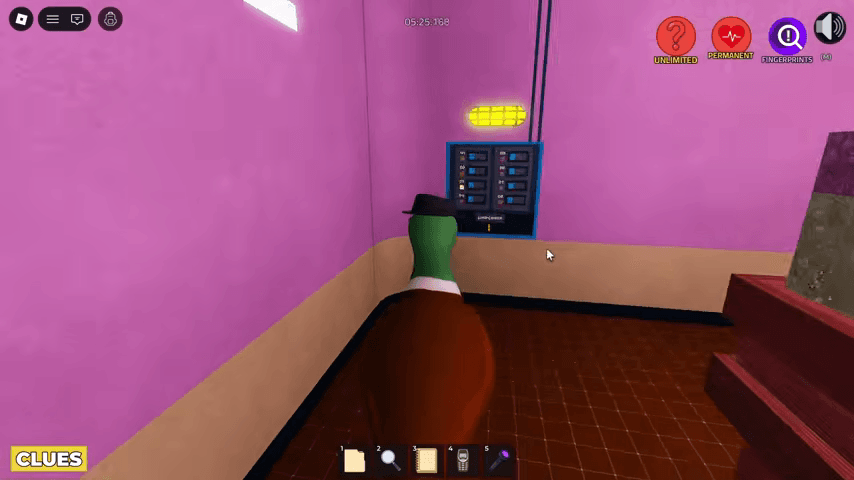
Watch the dispenser light sequence and repeat it to obtain the coin. The creator example is 5, 2, 4, 1, 8, 3, 7, 6; use your own displayed order. Spend the coin at the Chocolate River vent.
7. Read the final evidence before voting
7. Read the final evidence before voting
- Success check
- The next clue or room becomes available after the actions in this step.
- If it remains unclear
- Check the pictured area and finish the item interaction before moving on. Compare your current clue if the version differs.
Read the supporting evidence
§7. Read the final evidence before voting#
The vent sequence reveals the disabled alarms and stolen golden eggs. Inspect the suspect profiles after registering the new information.
The creator chooses Andrew, the Student, citing computer knowledge, ignored rules and separation from the group. The reviewed frame shows Andrew was most voted. That frame alone does not confirm a successful verdict, so treat this as the recorded deduction and compare your own case file.
Scope and sources
These steps follow archived English gameplay. The official experience was updated on October 9, 2026; this route has not been replayed in that build. Compare the clues in your own round if a code or layout differs.
- These steps follow archived English gameplay. The official experience was updated on October 9, 2026; this route has not been replayed in that build. Compare the clues in your own round if a code or layout differs.