Video-based walkthrough
Hideout Walkthrough: Directions and Handcuffs
The Hideout is an item-and-stealth route. Take the early sponge and apple with you, turn off the cameras, and save the color directions before descending.
Quick answer
Click the raccoon computer image five times, power the door with two batteries, cut the laser wires, and set green right, blue down, red and yellow left. Use the sponge for the wheel, trade the apple to the bird, retrieve handcuffs and return upstairs.
Follow the item chain
Use the steps in order, or jump to the last door you opened.
1. Keep the sponge and steal the guard keys
Take the sponge and unlock the cell with stolen keys.
- Success check
- You can leave the starting cell.
- If it remains unclear
- Wait for the guard to pass before crossing.
Read the supporting evidence
§1. Keep the sponge and steal the guard keys#
Take the Sponge near the starting cell. It has a later use, so keep it even though the first door does not need it. Wait for the patrolling guard to approach, take the keys and unlock the cell.
Wait until the guard moves away before crossing to the computer area. Disabling cameras later does not remove the need to avoid the guard.
2. Disable cameras and collect two batteries
Click raccoon five times and power the door with two batteries.
- Success check
- Camera hotspots turn off and the tool room opens.
- If it remains unclear
- A single battery does not complete the mechanism.
Read the supporting evidence
§2. Disable cameras and collect two batteries#
At the computer, click the raccoon picture five times. The recorded run gains access and turns off the red camera hotspots.
Collect both batteries in this area while watching the guard. Insert both into the powered-door mechanism, then activate its lever. Go through the opened door and take the Hammer, Steel Rope and Pipe Wrench.
3. Break the glass and cut all laser wires
Collect apple and scissors, then unscrew the panel and cut three wires.
- Success check
- The laser path becomes safe.
- If it remains unclear
- Use the separate bolt wrench and read the guide before descending.
Read the supporting evidence
§3. Break the glass and cut all laser wires#
Return to the starting cell and break the glass with the Hammer. Descend, collect the Apple and take the Scissors. Carry the apple onward for the bird near the end.
Go upstairs and collect the separate wrench used on bolts. Wait for the guard to move, unscrew the panel bolts, then cut all three wires with the Scissors. The lasers turn off after the wire sequence.
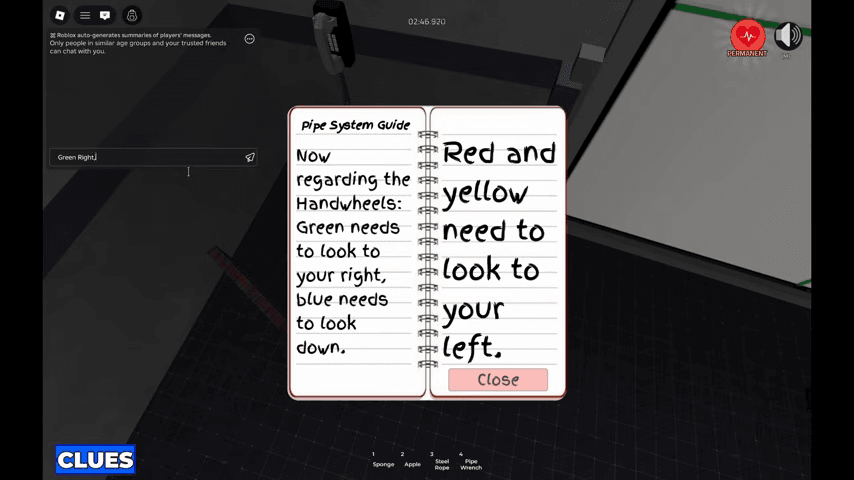
Before returning below, read the Pipe System Guide: green faces right, blue faces down, and both red and yellow face left. Record the directions now.
4. Open the tunnel and set the four directions
Use rope, collect pickaxe, and set the colored directions.
- Success check
- The tunnel route opens.
- If it remains unclear
- Check green right, blue down, red and yellow left.
Read the supporting evidence
§4. Open the tunnel and set the four directions#
Return below through the disabled lasers. Use the Steel Rope at the lever mechanism to open the route to the Pickaxe. Take the Pickaxe and break the obstructing rocks.
At the colored controls, use green right, blue down, red left and yellow left. These are the directions shown in the Pipe System Guide. Completing the settings opens the way onward.
5. Use the sponge and make the bottle lockpick
Use the sponge for a wheel and craft the bottle lockpick.
- Success check
- The door opens after three successful lockpick rounds.
- If it remains unclear
- Retrieve the starting sponge if it was left behind.
Read the supporting evidence
§5. Use the sponge and make the bottle lockpick#
Continue through the tunnel. Use the Pipe Wrench at the obstruction. Use the Sponge at the marked interaction to obtain an extra wheel, then fit the wheel as the door knob to open the next door.
Collect the Scissors in the next area and cut the plastic bottle to make the plastic lockpick piece. Use it at the locked door and complete three successful lockpick rounds.
6. Trade the apple and get the handcuffs
Trade apple, collect handcuffs and return upstairs.
- Success check
- The handcuff interaction starts the ending cutscene.
- If it remains unclear
- Check for the apple near the starting-cell descent.
Read the supporting evidence
§6. Trade the apple and get the handcuffs#
Give the Apple collected below the starting cell to the bird. Take the key it gives you. Use the key on the nearby locked door and collect the Handcuffs.
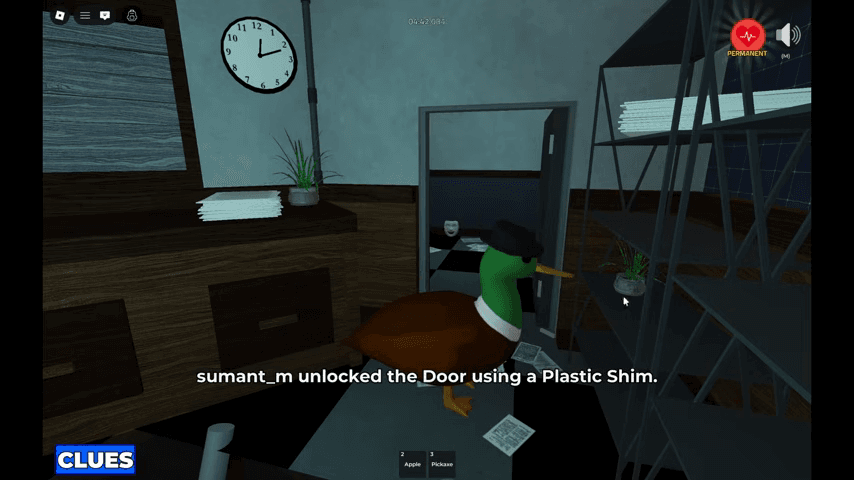
Retrace the route upstairs. Continue avoiding the guard on your return. Use the Handcuffs on the target in the upper hideout. The video shows a cutscene and describes the badge reward after this interaction.
The narration does not speak the target's name. This guide identifies the handcuff interaction by location and equipment instead of importing an unverified suspect name.
Ending check: arrest and Gone Missing
Return with the handcuffs and arrest Denim Dan.
- Success check
- The archived arrest route displays Chapter 1 completed.
- If it remains unclear
- Keep the handcuffs until returning to the suspect.
Read the supporting evidence
§Ending check: arrest and Gone Missing#
The second reviewed walkthrough returns with handcuffs to arrest Denim Dan and shows Chapter 1 completed. Keep the handcuffs for this return route instead of treating the bird key as the final objective.
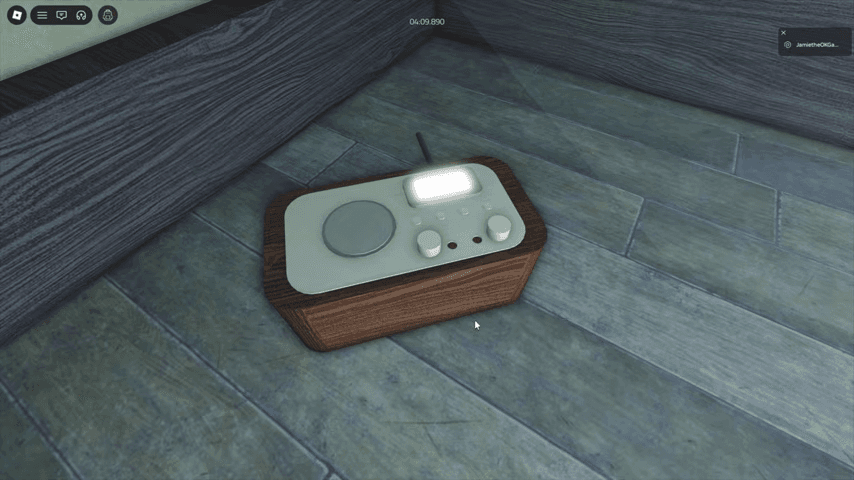
The same video also shows a separate Gone Missing ending. Its radio report says James and Detective Duck are missing and names Denim Dan as the prime suspect. The selected radio frame and reviewed narration support that ending. The precise alternate door interaction remains unconfirmed here, so this guide does not prescribe an exact trigger.

Questions and answers
What are the Hideout color directions?
Green right, blue down, red left and yellow left. The Pipe System Guide supplies the mapping.
How do I open the raccoon computer?
Click the raccoon picture five times in the reviewed run. This turns off camera hotspots; guards still patrol.
What is the sponge for?
A later tunnel interaction uses it to obtain an extra wheel, which serves as the door knob.
Scope and sources
These steps follow archived English gameplay. The official experience was updated on October 9, 2026; this route has not been replayed in that build. Compare the clues in your own round if a code or layout differs.
- These steps follow archived English gameplay. The official experience was updated on October 9, 2026; this route has not been replayed in that build. Compare the clues in your own round if a code or layout differs.