Video-based walkthrough
Summer Camp Walkthrough: Puzzles and Liam
The Summer Camp route combines two tool-based puzzles with a trail of notes. Complete the archery and storage puzzle before heading toward the campsite and abandoned house.
Quick answer
Use 1573 at reception, shoot the UV-numbered targets in order, match the rock symbols to the poster colors, and assemble the notes for 844. Recover and read the burnt note, enter the abandoned house, then review Liam before your final vote.
Follow the item chain
Use the steps in order, or jump to the last door you opened.
1. Break the window and use 1573
Charge the phone and enter the color-derived code.
- Success check
- 1573 gives a key in the recorded run.
- If it remains unclear
- Check the phone and color digits before entering.
Read the supporting evidence
§1. Break the window and use 1573#
Collect the rock and charger cable near the start. Break the reception window with the rock and enter. Plug the charger into the smartphone so its clue becomes readable.
Combine the phone's color order with the colored digits shown in the room. In the recorded run the order produces 1573. Enter that code on the keypad, take the key and unlock the door to the archery area.
2. Reveal the targets with UV light
Shoot the UV-numbered targets in order.
- Success check
- A rock rises at the range.
- If it remains unclear
- Inspect every target with UV and retry a missed shot.
Read the supporting evidence
§2. Reveal the targets with UV light#
Take the bow from the top of the haystack and craft arrows at the nearby crafting point. Equip UV light and inspect the targets for hidden numbers.
Shoot the targets in the sequence marked 1 through 5. Follow the numbers revealed in your round rather than guessing a left-to-right order. When completed, a rock rises and makes the next clue accessible.
3. Solve the symbol and color grid
Copy positions from the rock and colors from the poster.
- Success check
- The storage room opens.
- If it remains unclear
- Check each grid position, including repeated log symbols.
Read the supporting evidence
§3. Solve the symbol and color grid#
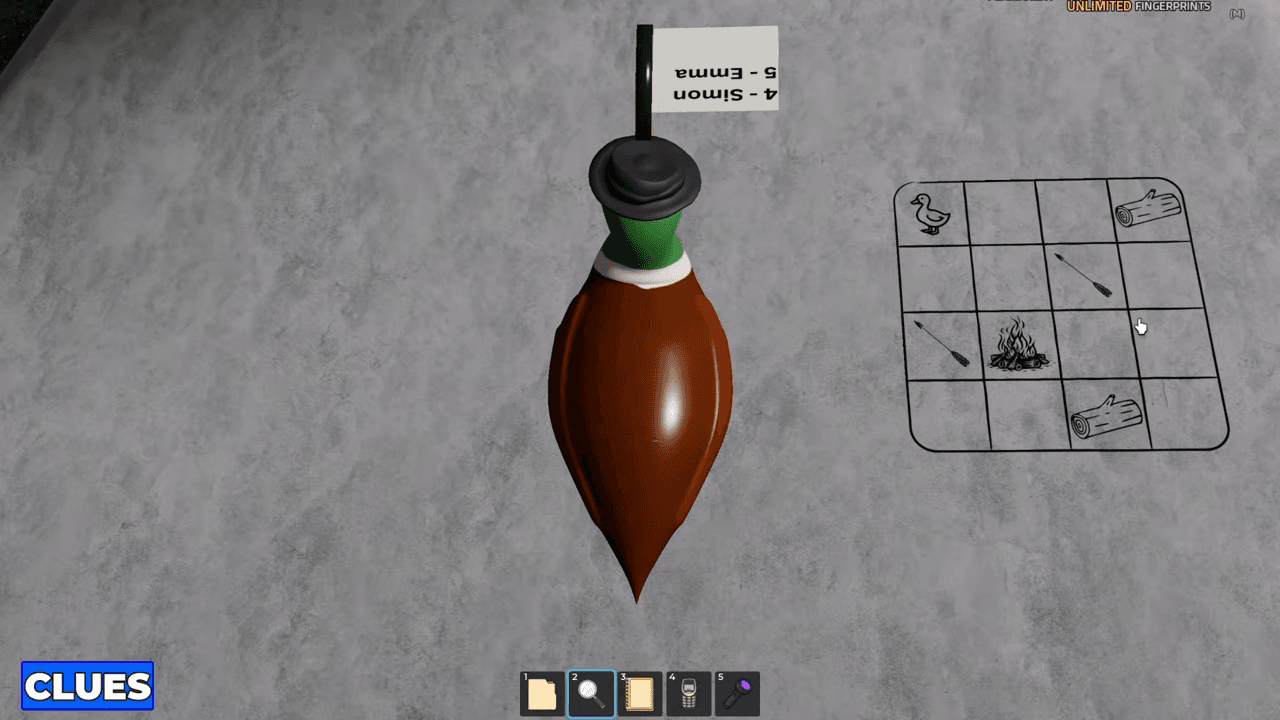
Climb the raised rock and use the magnifying glass to reveal the symbol pattern. Record where every symbol sits in the grid. Then read the poster to learn the color assigned to each symbol.
Use green for the duck, brown for logs, blue for arrows and red for fire. Apply these colors to the positions you saw on the rock. Matching only the colors without copying the positions leaves the puzzle incomplete.
The correct grid opens the storage room. Search the bag inside, take the Toy Knife, and read the material that adds suspect information.
4. Assemble the notes and open the security van
Use the Toy Knife on the van and finish the note board.
- Success check
- The assembled clue yields 844.
- If it remains unclear
- Place carried notes to free space and revisit the rock top.
Read the supporting evidence
§4. Assemble the notes and open the security van#
Search the archery area, the area near the house, the top of the rock and reception for loose notes. Place each collected piece on the note board at reception, freeing inventory space as you go.
Read the book that explains the security van, then use the Toy Knife on the van to obtain another note. Finish searching the earlier areas and place the remaining pieces on the board.
Click the assembled note to register its information. Read the lock clue at the bottom; the walkthrough obtains 844. The auto-captioned narration miscounts the notes while carrying them, so use the visible spaces on your board to check completion.
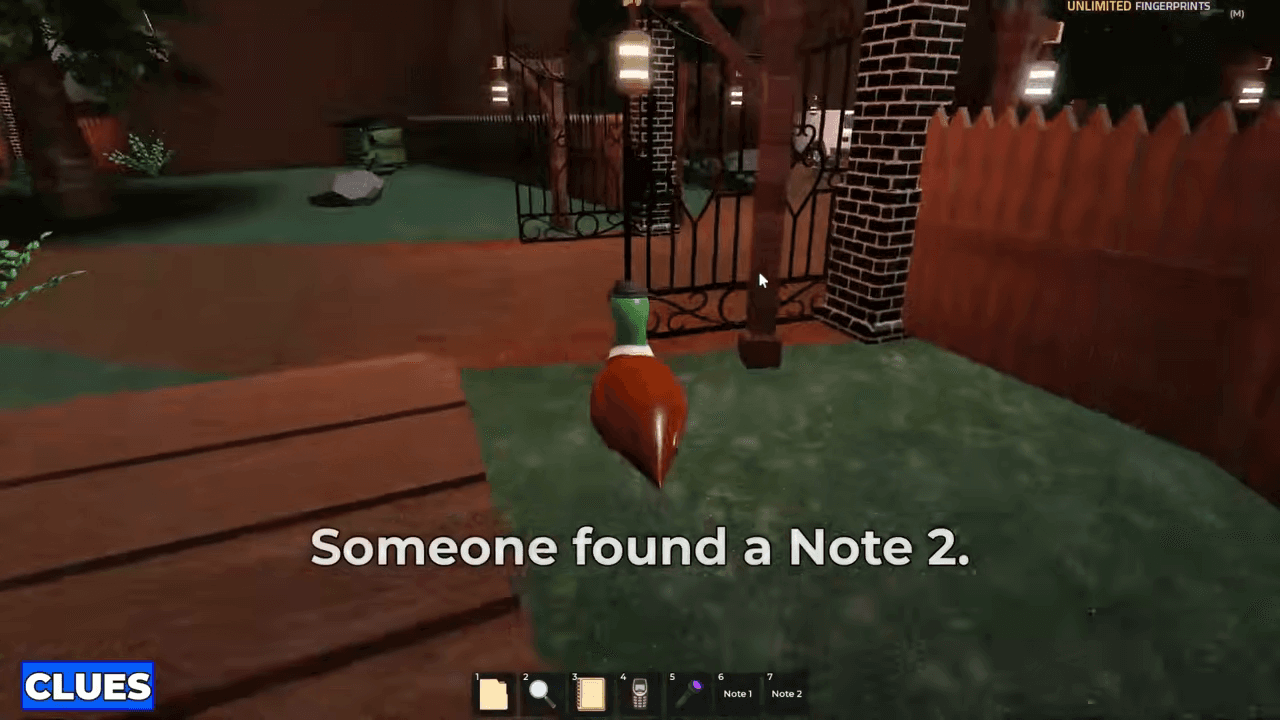
The selected frames locate Note 5 on the grass between the cabins near the bench, Note 3 on top of the large gray rock, Note 4 at the picnic table, Note 6 on the reception floor between the desk and metal shelves, and Note 2 on the ground beside the entrance gate brick pillar. Note 1 comes from the white security van after using the Toy Knife.
5. Enter 844 and recover the burnt note
Open the gate, extinguish the fire and process the burnt note.
- Success check
- The special reader displays the hidden text.
- If it remains unclear
- Use sand first and read the campsite book.
Read the supporting evidence
§5. Enter 844 and recover the burnt note#
Enter 844 at the gate beyond the note-board sequence. Follow the path to the campsite. Take the sand bucket, use it to extinguish the campfire and search the extinguished fire for the Burnt Note.
Read the campsite book. It adds suspect information needed later. Return with the Burnt Note to reception and insert it in the special reader so the text becomes visible.
6. Open the abandoned house
Enter the abandoned house and complete suspect entries.
- Success check
- The final investigation location has been visited.
- If it remains unclear
- Process the burnt note before trying the house route.
Read the supporting evidence
§6. Open the abandoned house#
After processing the burnt note, return toward the newly accessible abandoned-house area. Open the outer gate and approach the house. Interact with its door to kick it open in the recorded run.
This is the final location visited before the creator ends the investigation. Check that every suspect has information, including the entries from the storage room, assembled notes and campsite book.
7. Review the clues pointing to Liam
Review Liam and compare the case statements.
- Success check
- The game confirms the right suspect after the Liam vote in the archived run.
- If it remains unclear
- Compare the suspect statements if your current version differs.
Read the supporting evidence
§7. Review the clues pointing to Liam#
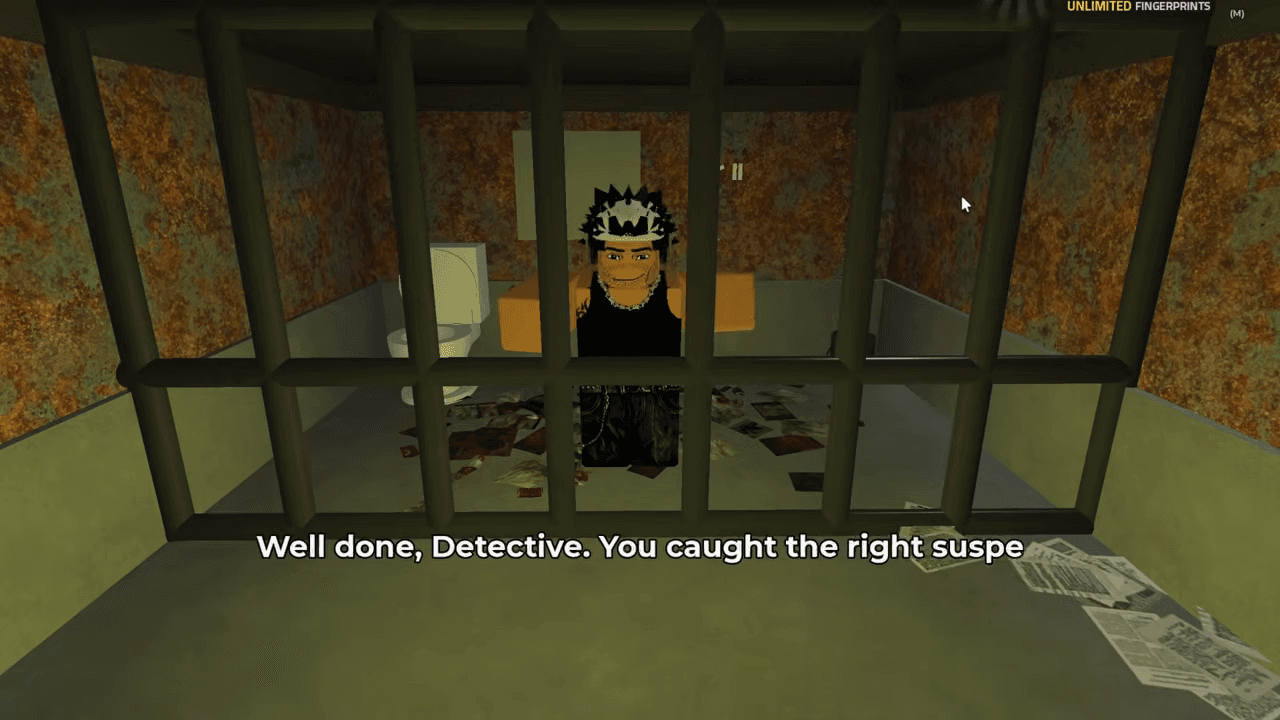
The video creator points to Simon's account that Liam planned something in the abandoned house and to Liam's information about the injured teacher who went looking for him. He selects Liam at the end of the run.
The creator expresses uncertainty while explaining his reasoning. The selected frame at 06:51 resolves the result: after the Liam vote, the game displays a message that the right suspect was caught. Liam is therefore confirmed for this recorded run. The latest build has not been replayed.
Note 5 location
Collect and place Note 5.
- Success check
- Its slot on the reception board is filled.
- If it remains unclear
- Check the pictured landmark and clear an inventory slot if needed.
Read the supporting evidence
§Note 5 location#
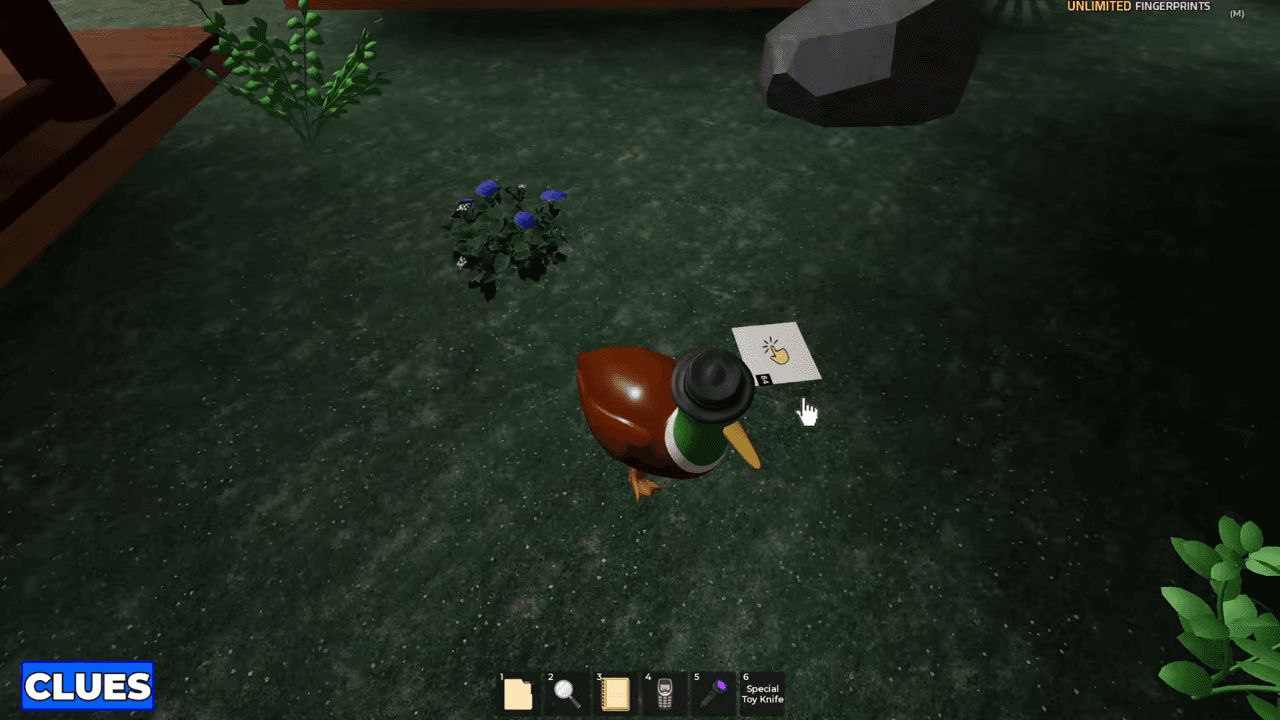
Note 5 is on the grass between the cabins beside the bench.
Take the note to the reception board and place it in its matching slot. Placing notes frees inventory space for the next item.
Note 3 location
Collect and place Note 3.
- Success check
- Its slot on the reception board is filled.
- If it remains unclear
- Check the pictured landmark and clear an inventory slot if needed.
Read the supporting evidence
§Note 3 location#
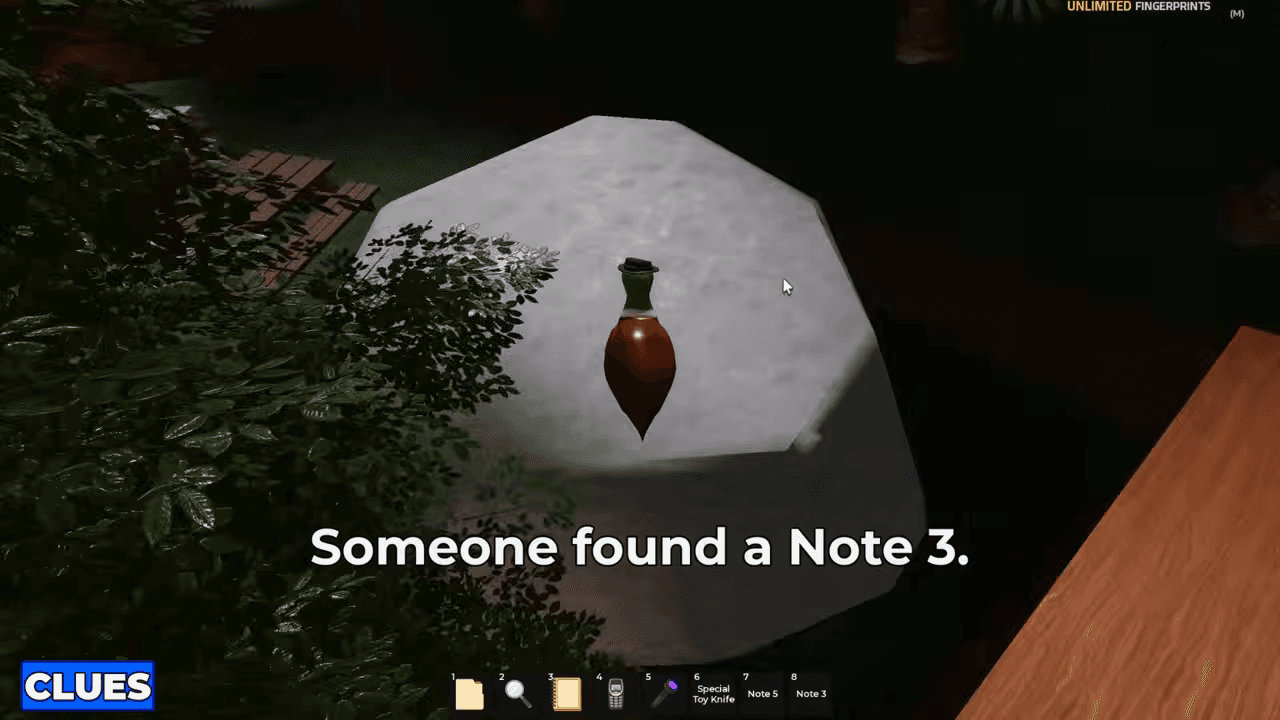
Note 3 is on top of the large gray rock.
Take the note to the reception board and place it in its matching slot. Placing notes frees inventory space for the next item.
Note 4 location
Collect and place Note 4.
- Success check
- Its slot on the reception board is filled.
- If it remains unclear
- Check the pictured landmark and clear an inventory slot if needed.
Read the supporting evidence
§Note 4 location#
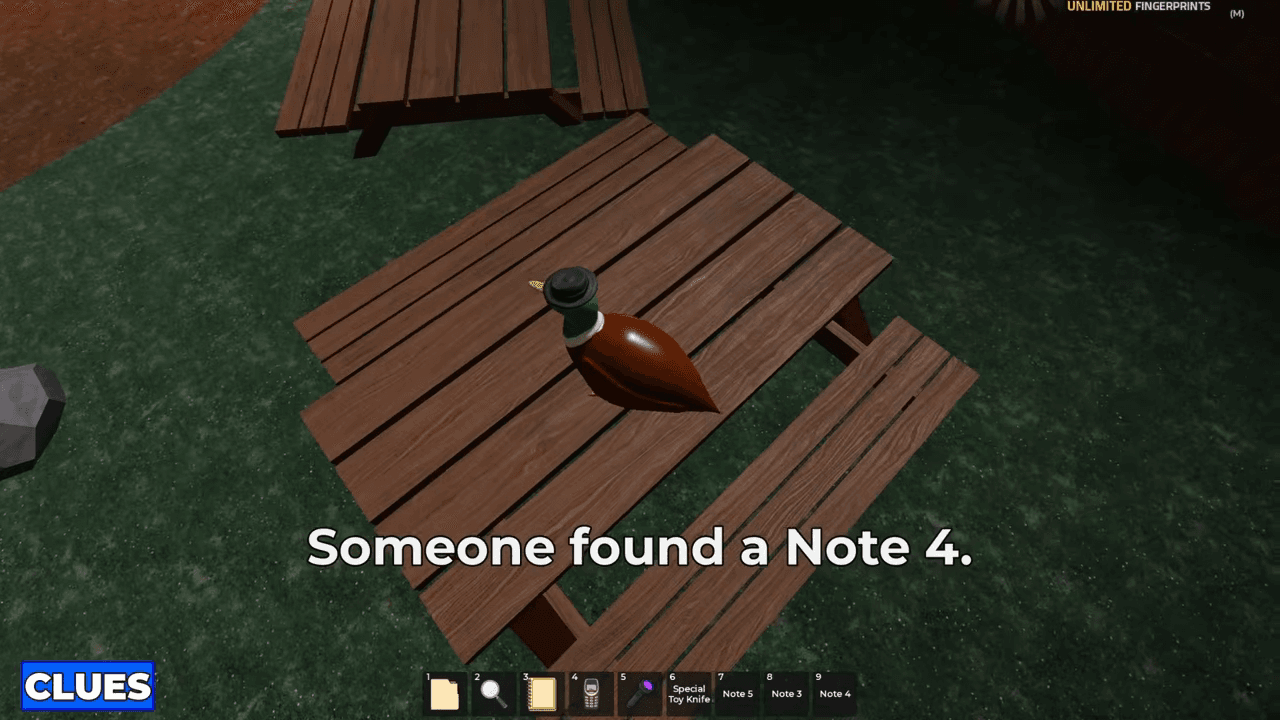
Note 4 is at the picnic table outside the cabins.
Take the note to the reception board and place it in its matching slot. Placing notes frees inventory space for the next item.
Note 6 location
Collect and place Note 6.
- Success check
- Its slot on the reception board is filled.
- If it remains unclear
- Check the pictured landmark and clear an inventory slot if needed.
Read the supporting evidence
§Note 6 location#
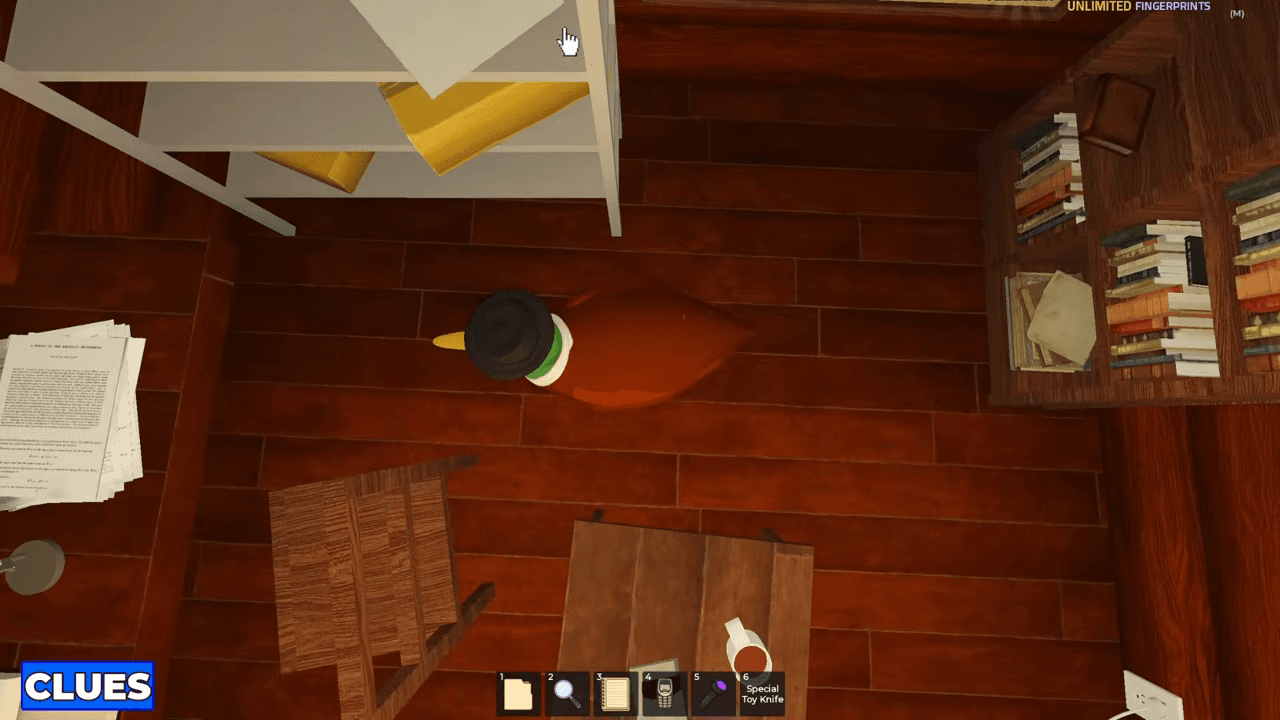
Note 6 is on the reception floor between the desk and metal shelves, beside the note board.
Take the note to the reception board and place it in its matching slot. Placing notes frees inventory space for the next item.
Note 1 location
Collect and place Note 1.
- Success check
- Its slot on the reception board is filled.
- If it remains unclear
- Check the pictured landmark and clear an inventory slot if needed.
Read the supporting evidence
§Note 1 location#
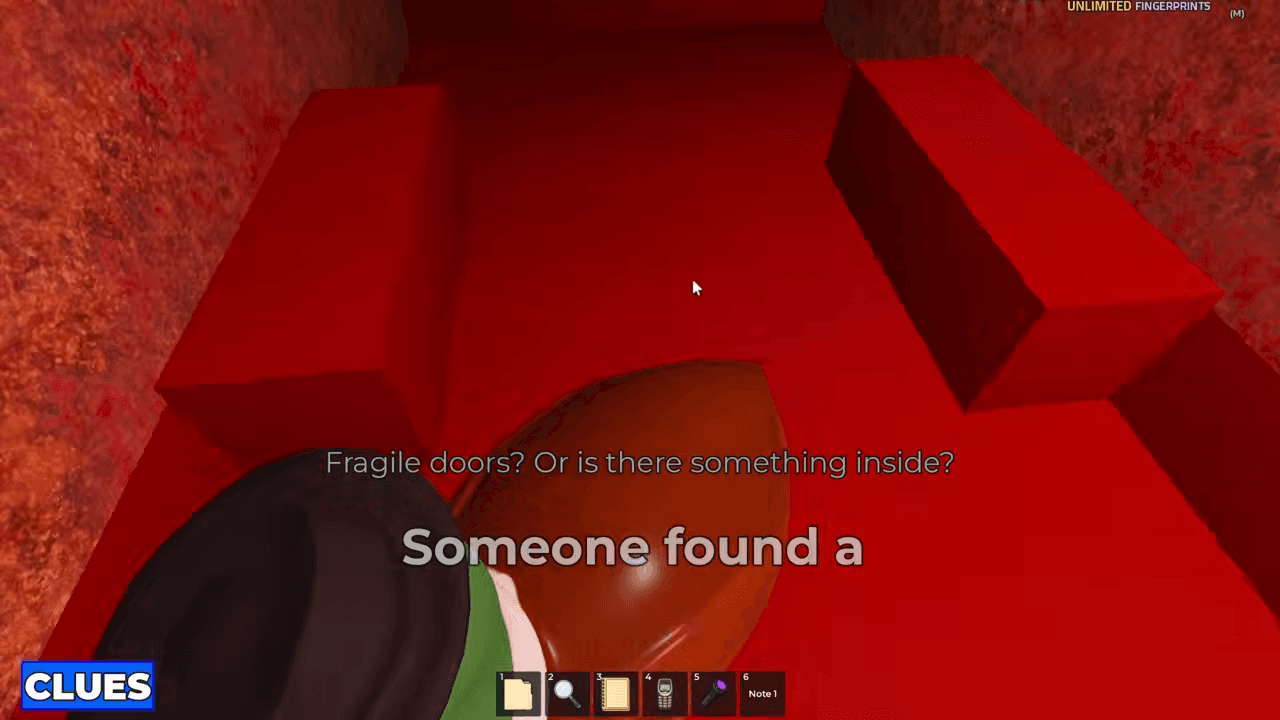
Note 1 is collected from the white security van after the Toy Knife interaction.
Take the note to the reception board and place it in its matching slot. Placing notes frees inventory space for the next item.
Note 2 location
Collect and place Note 2.
- Success check
- Its slot on the reception board is filled.
- If it remains unclear
- Check the pictured landmark and clear an inventory slot if needed.
Read the supporting evidence
§Note 2 location#
Note 2 is beside the entrance gate brick pillar.
Take the note to the reception board and place it in its matching slot. Placing notes frees inventory space for the next item.
Questions and answers
What are the Summer Camp codes?
1573 at reception and 844 at the later gate in the reviewed run. Read the phone and assembled note clues if your round differs.
What are the Summer Camp symbol colors?
Duck green, logs brown, arrows blue and fire red. Copy their positions from the clue on the raised rock.
Why does the target puzzle fail?
Reveal numbers with UV first and shoot 1 through 5 in that order. A missed shot can require another attempt before the rock rises.
Scope and sources
These steps follow archived English gameplay. The official experience was updated on October 9, 2026; this route has not been replayed in that build. Compare the clues in your own round if a code or layout differs.
- These steps follow archived English gameplay. The official experience was updated on October 9, 2026; this route has not been replayed in that build. Compare the clues in your own round if a code or layout differs.